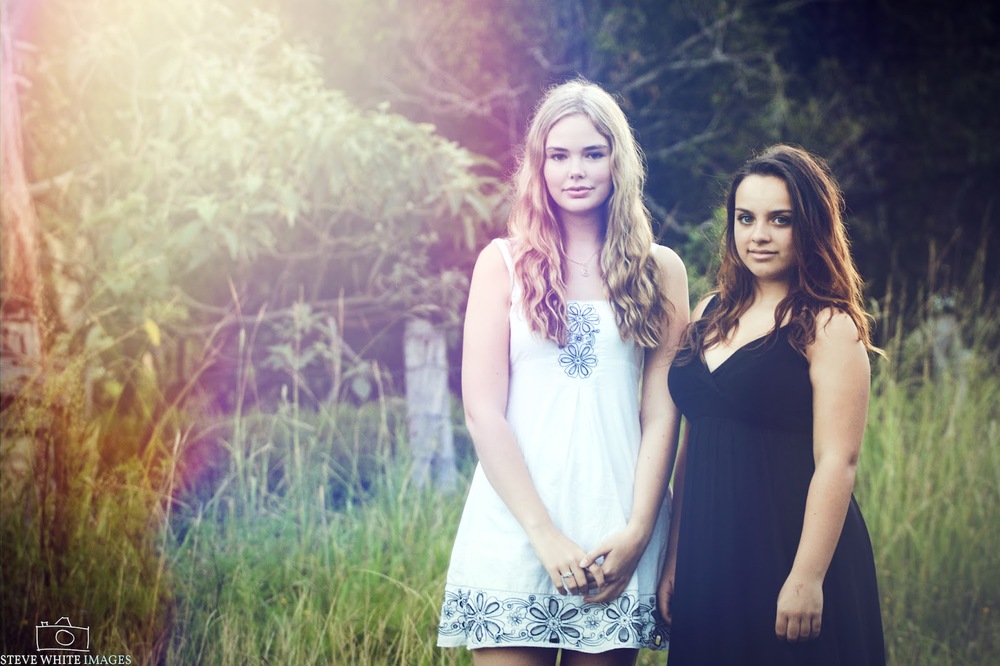
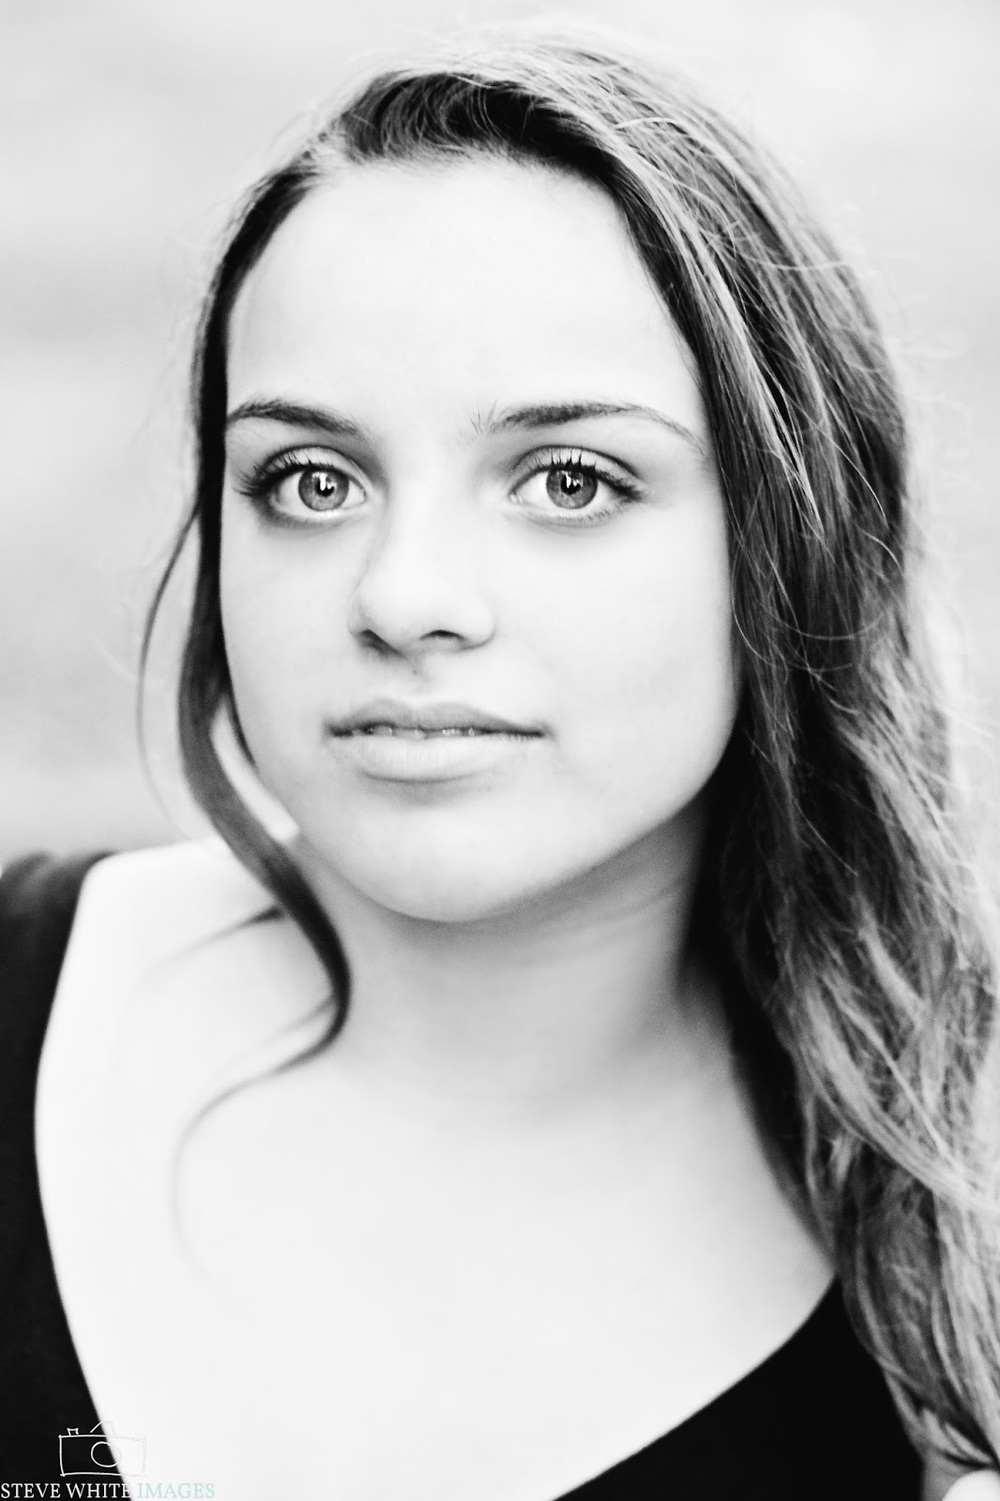
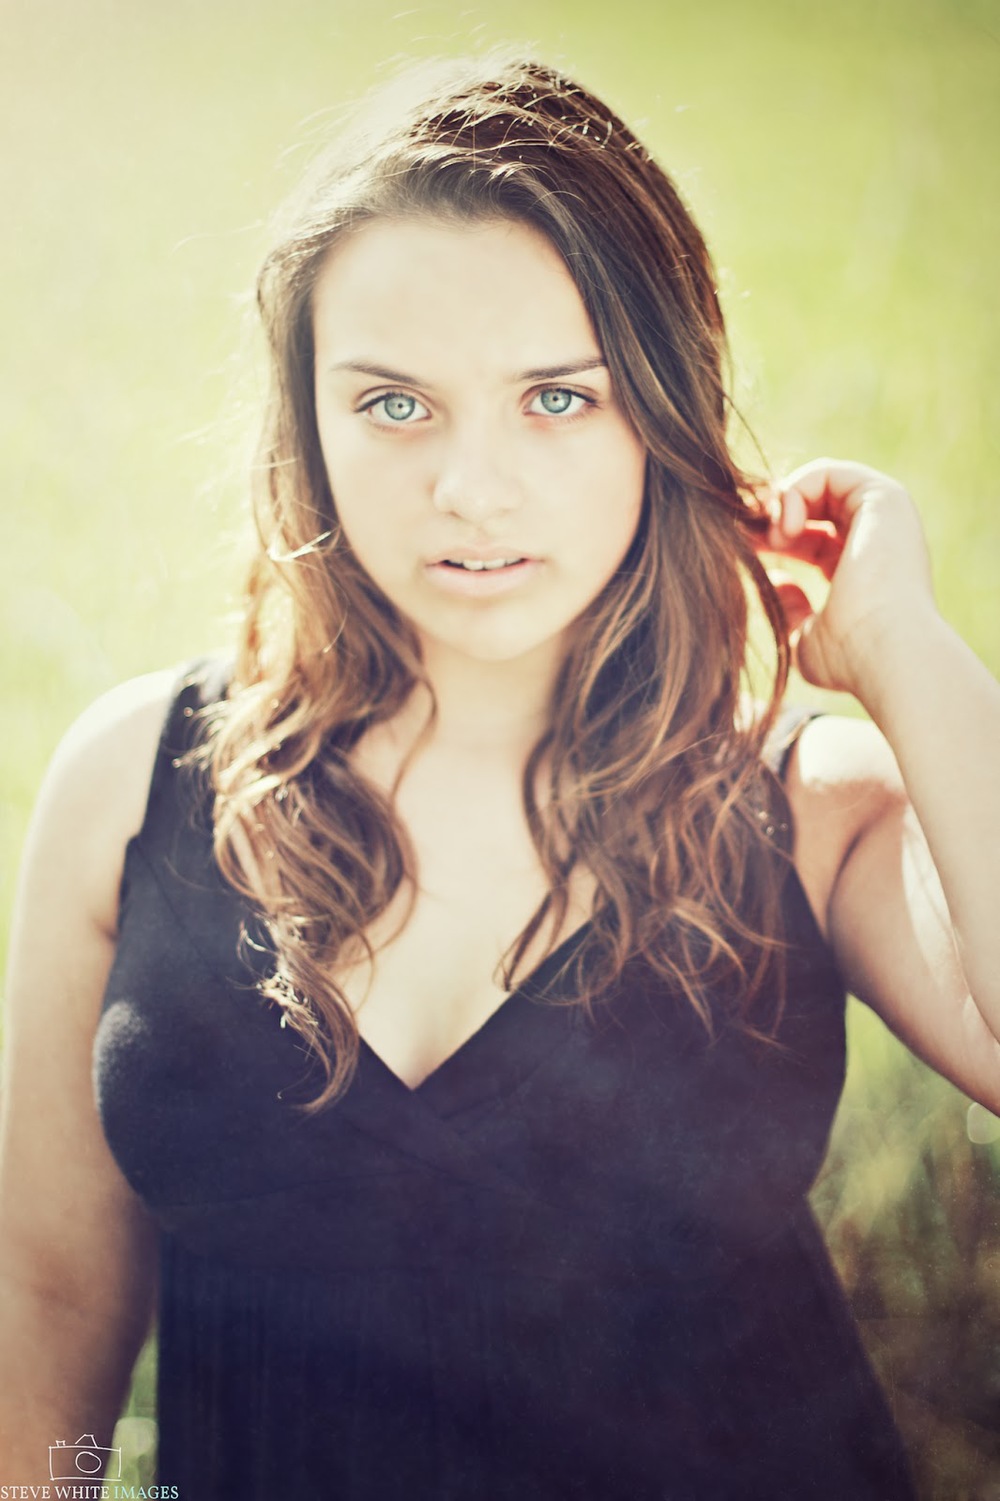
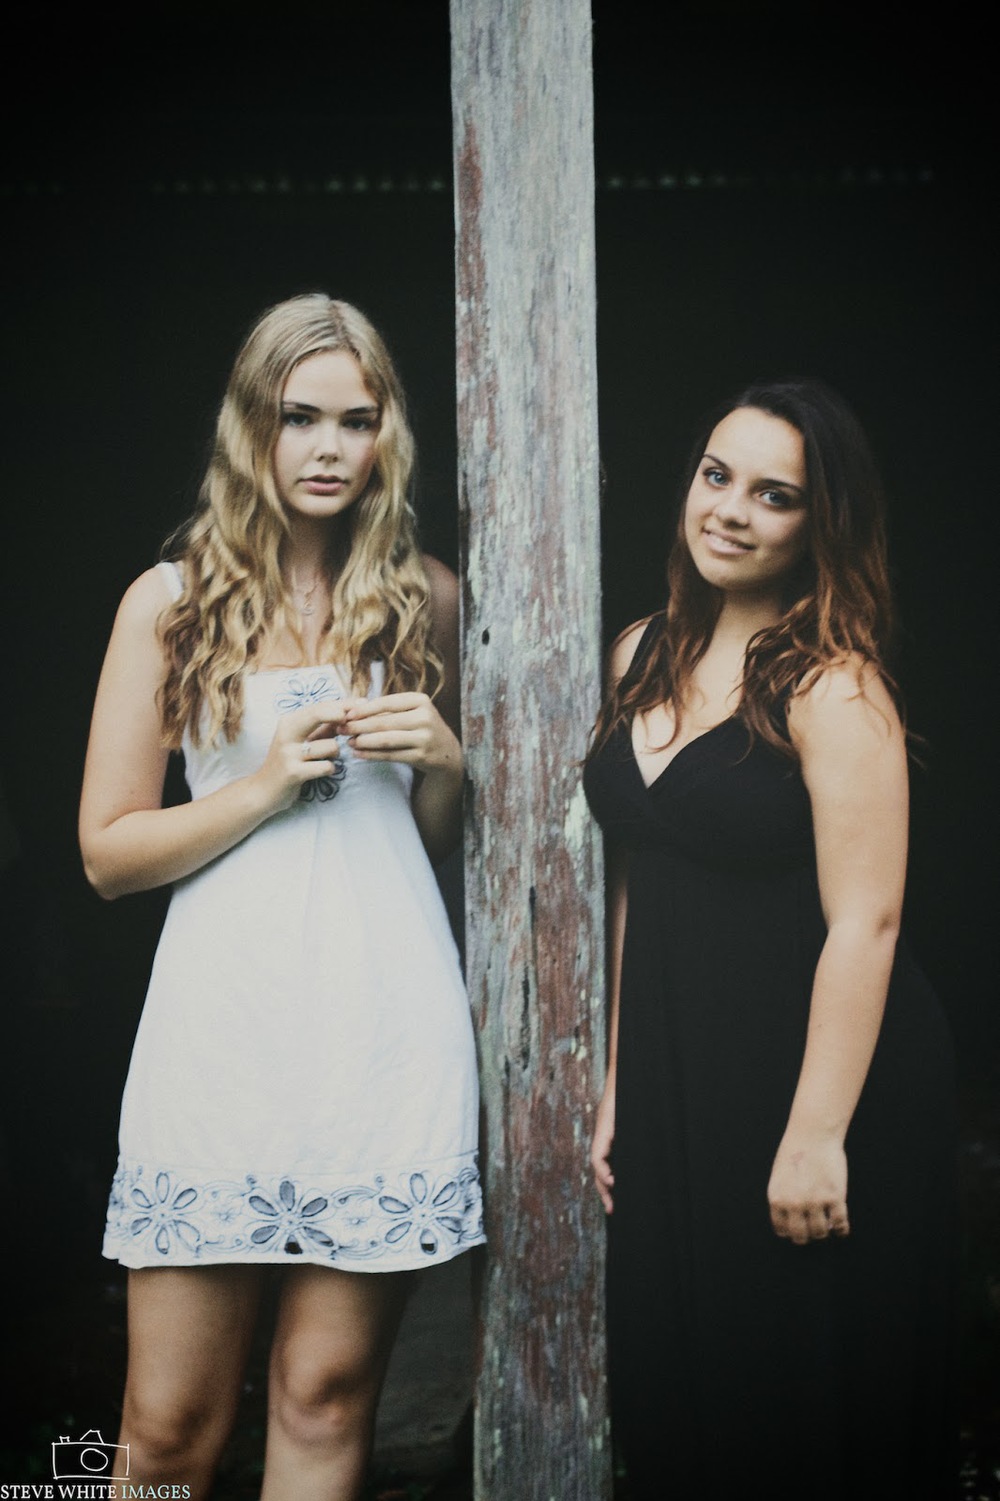
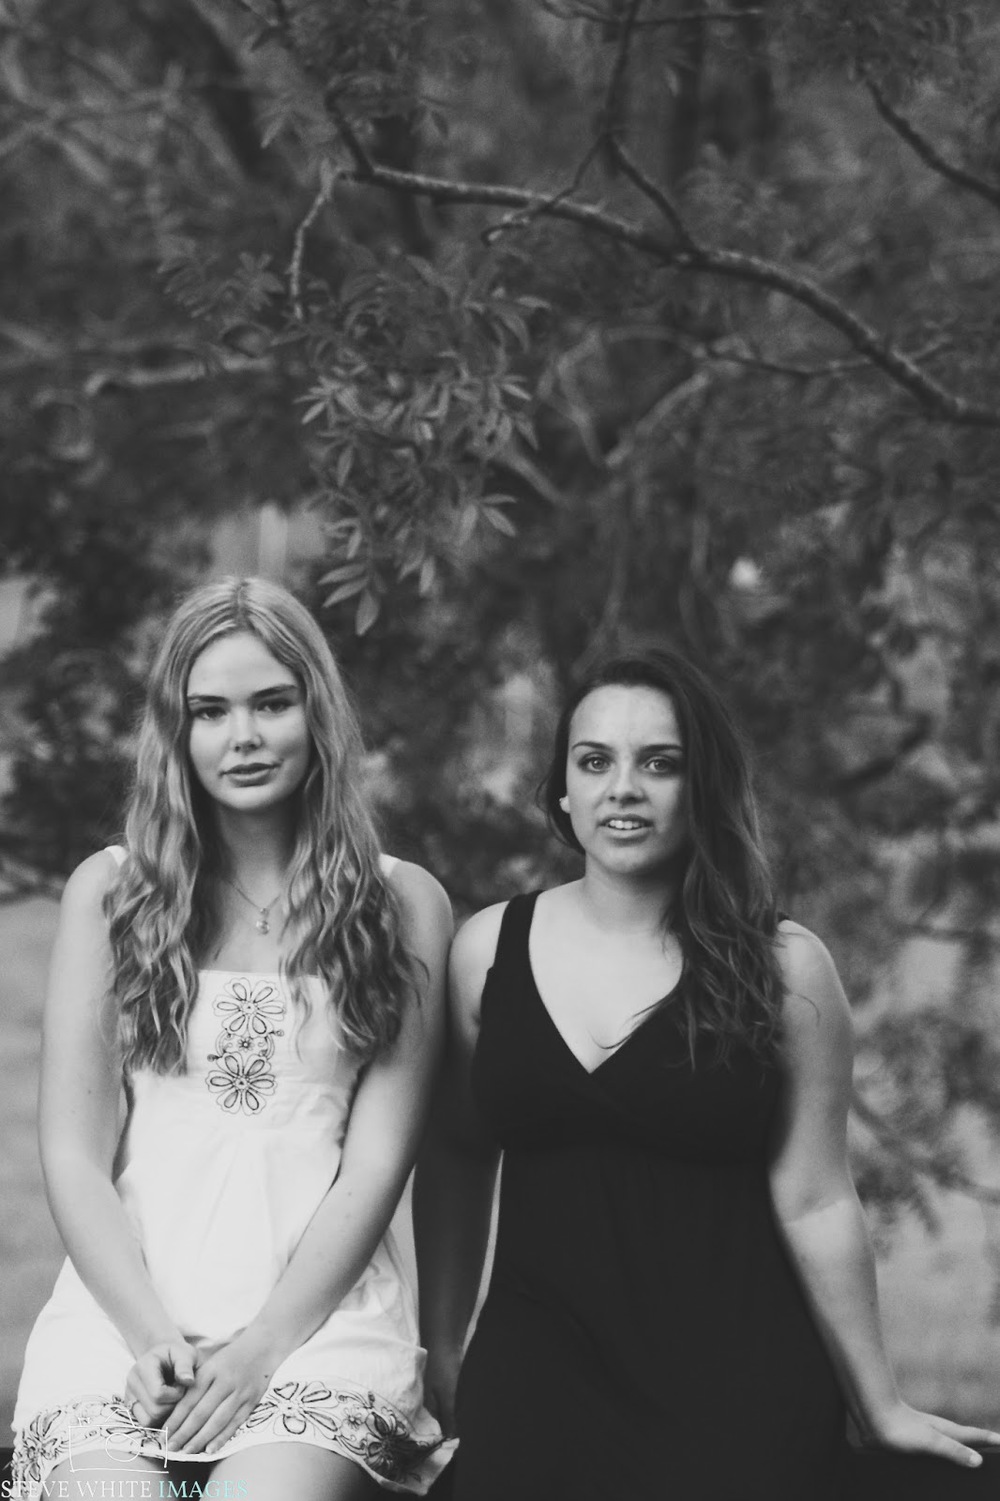
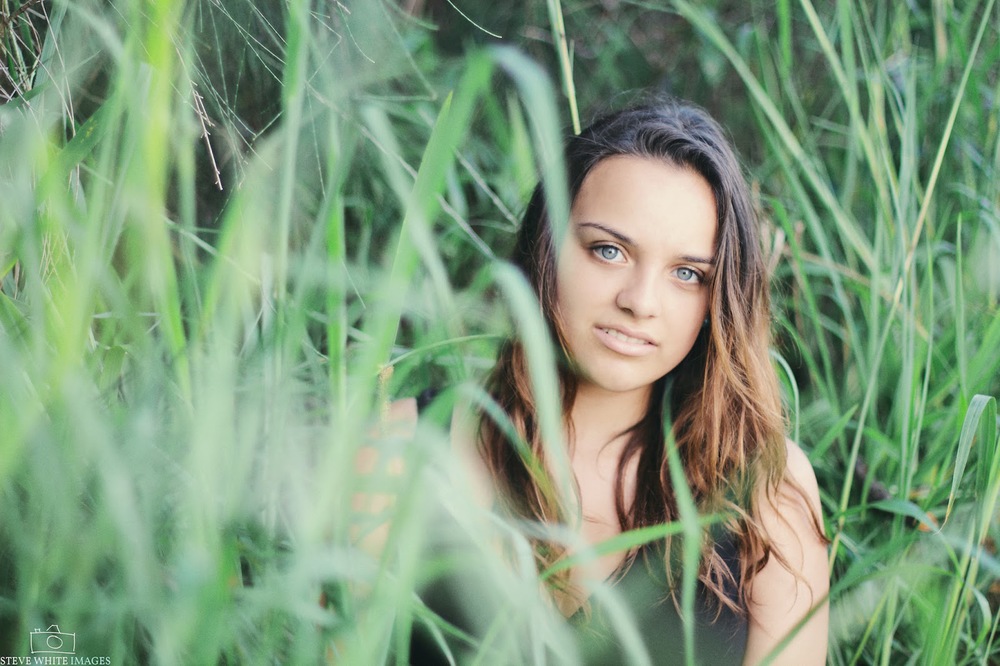
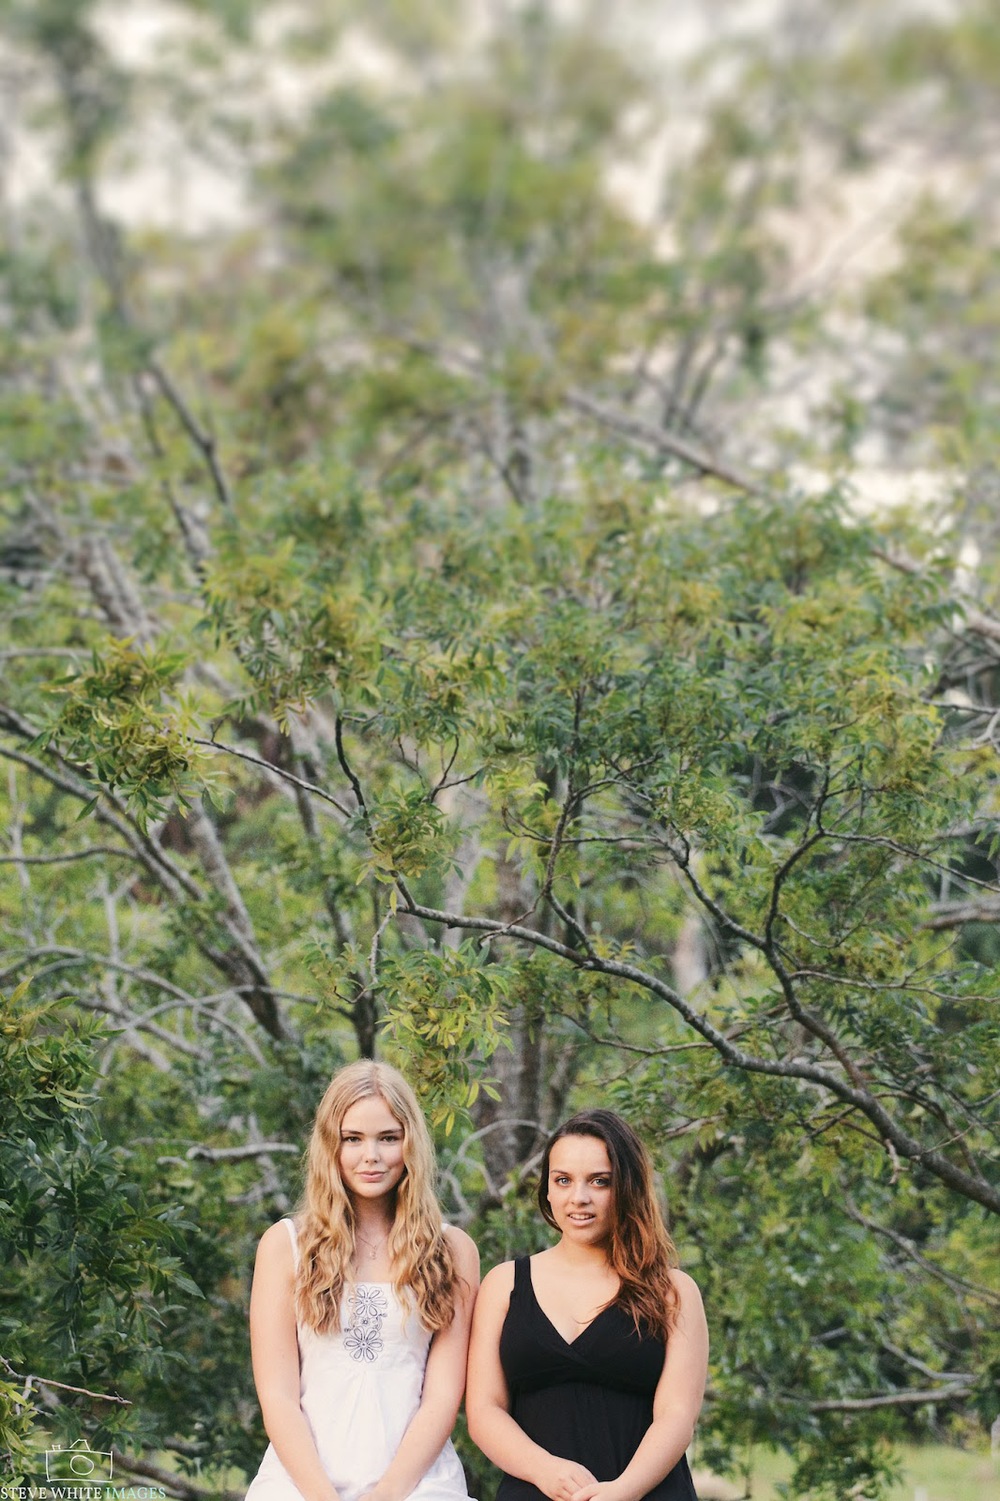
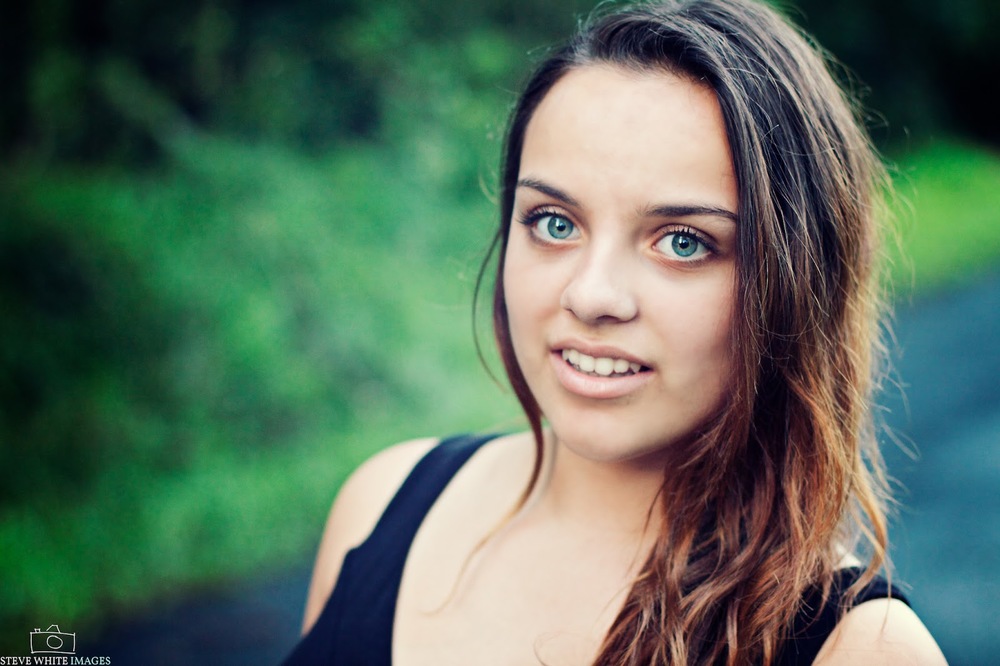
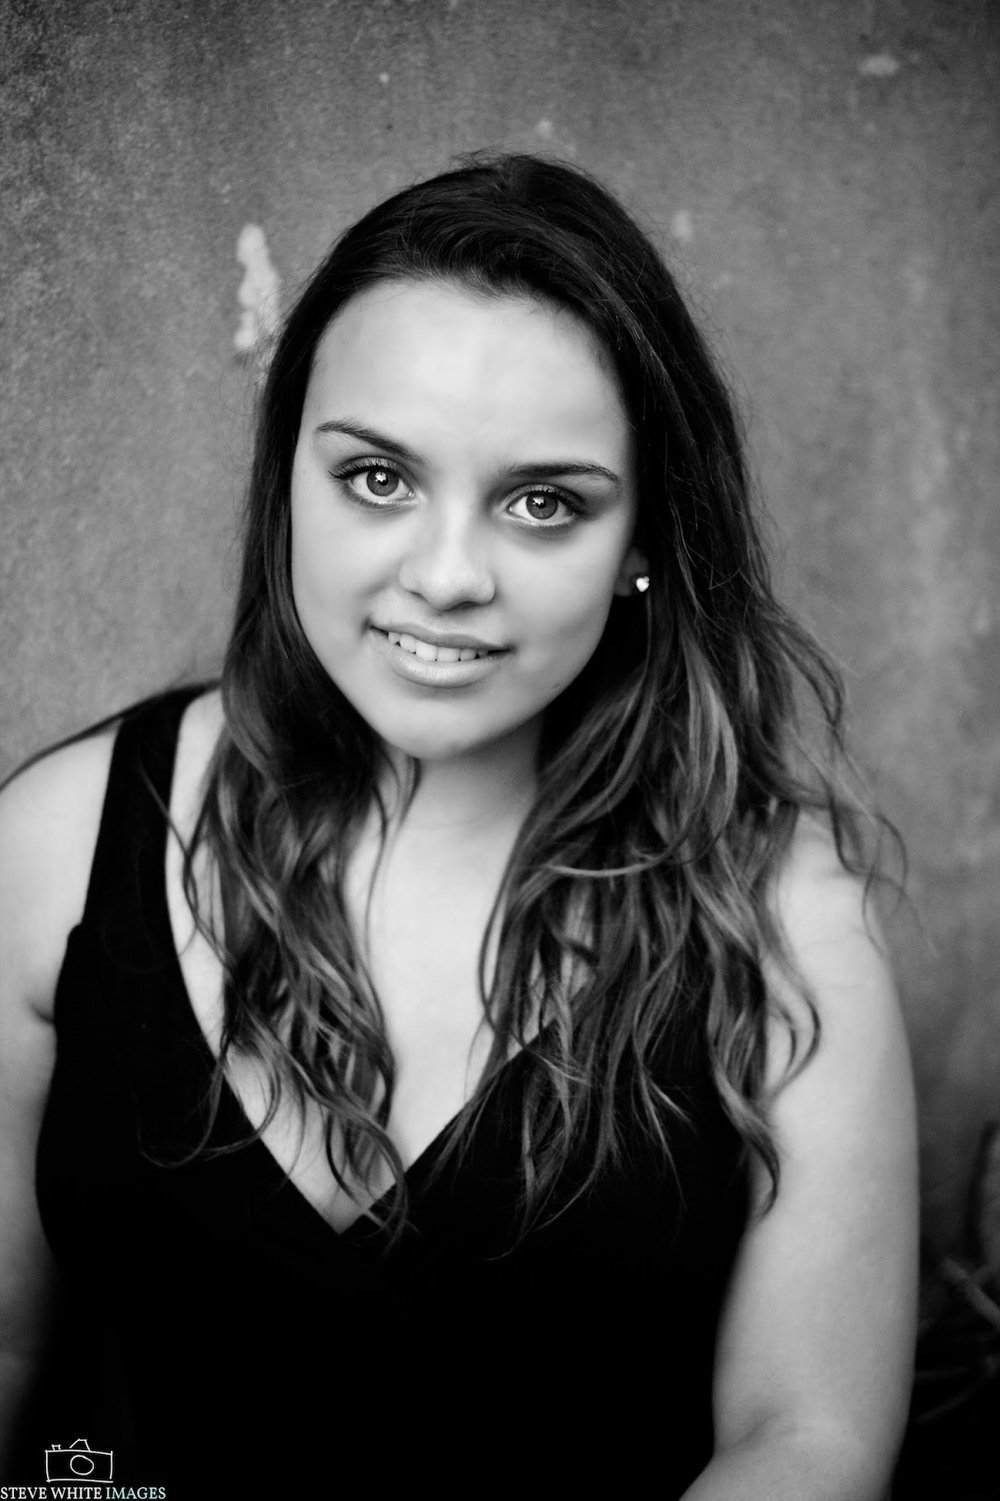
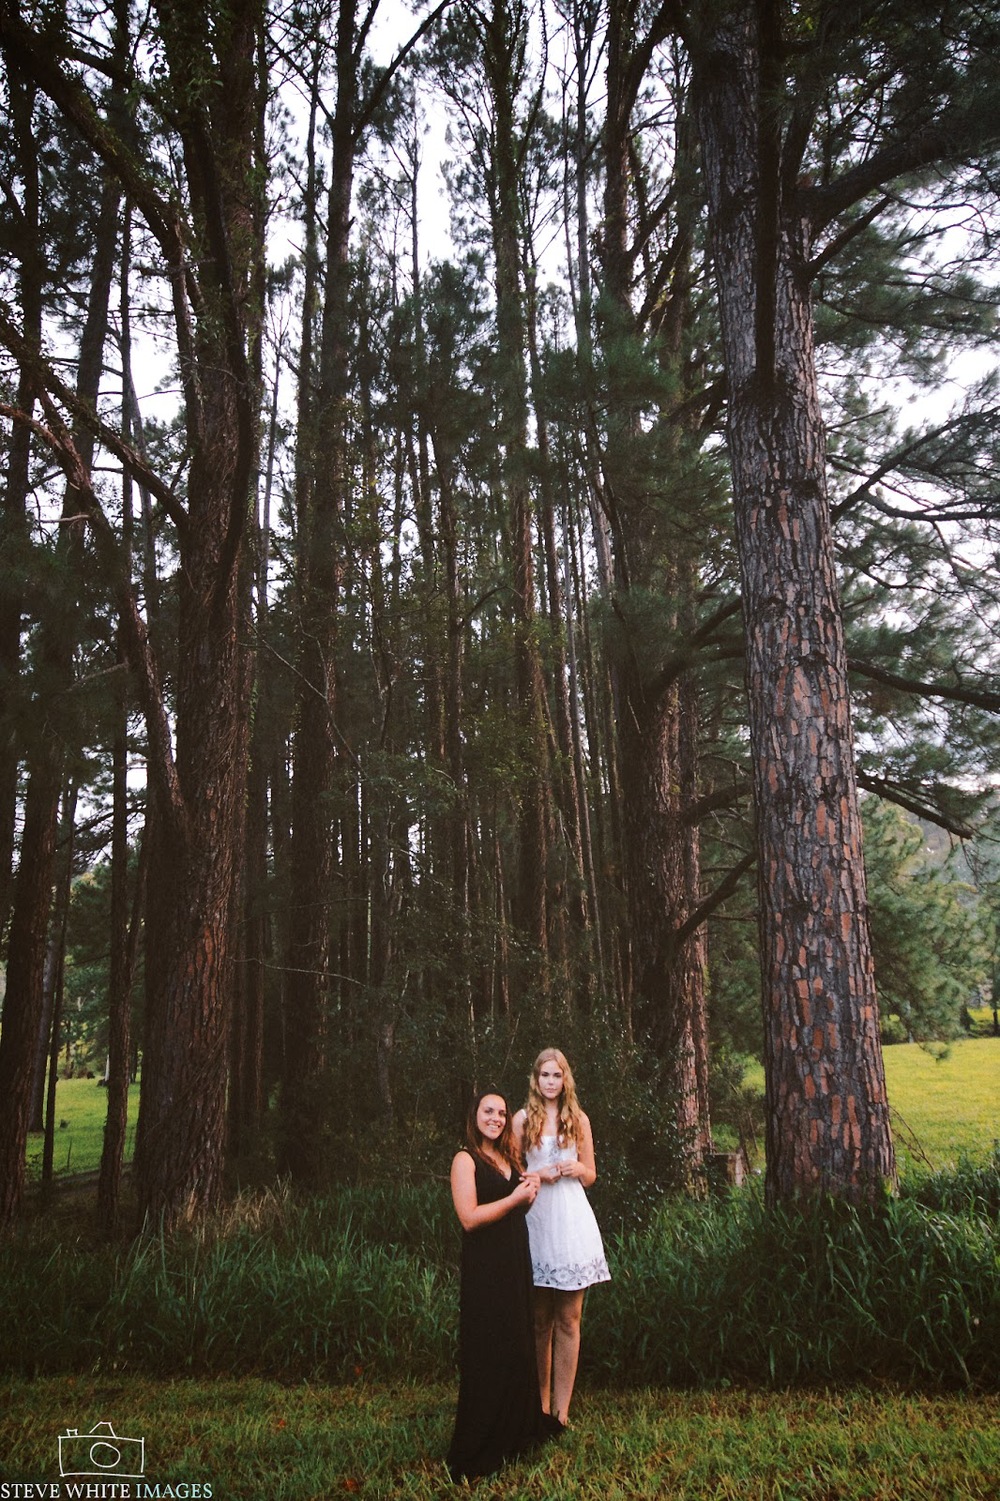
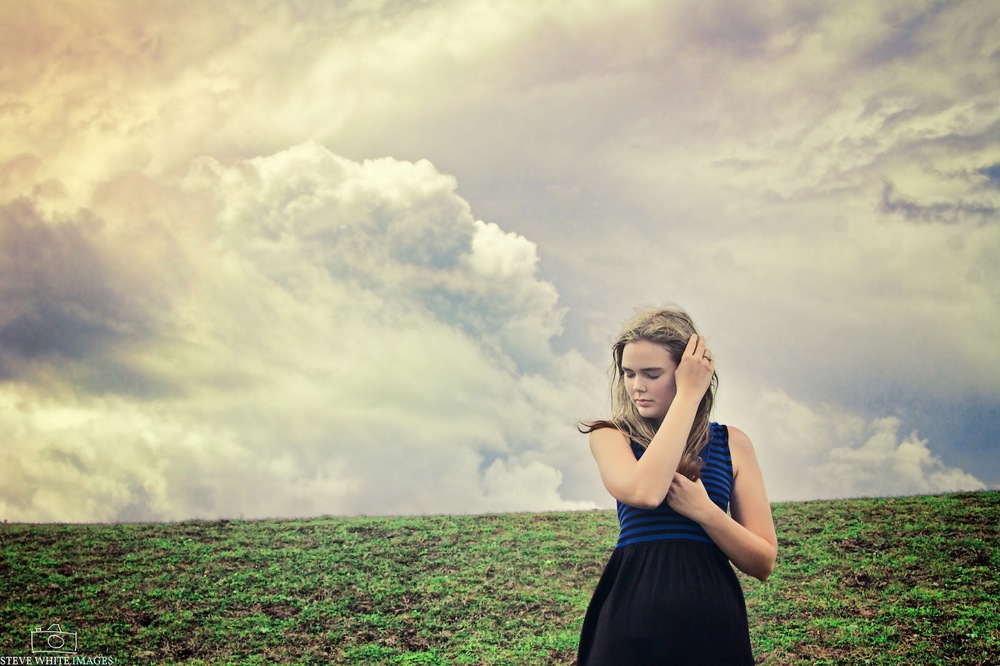
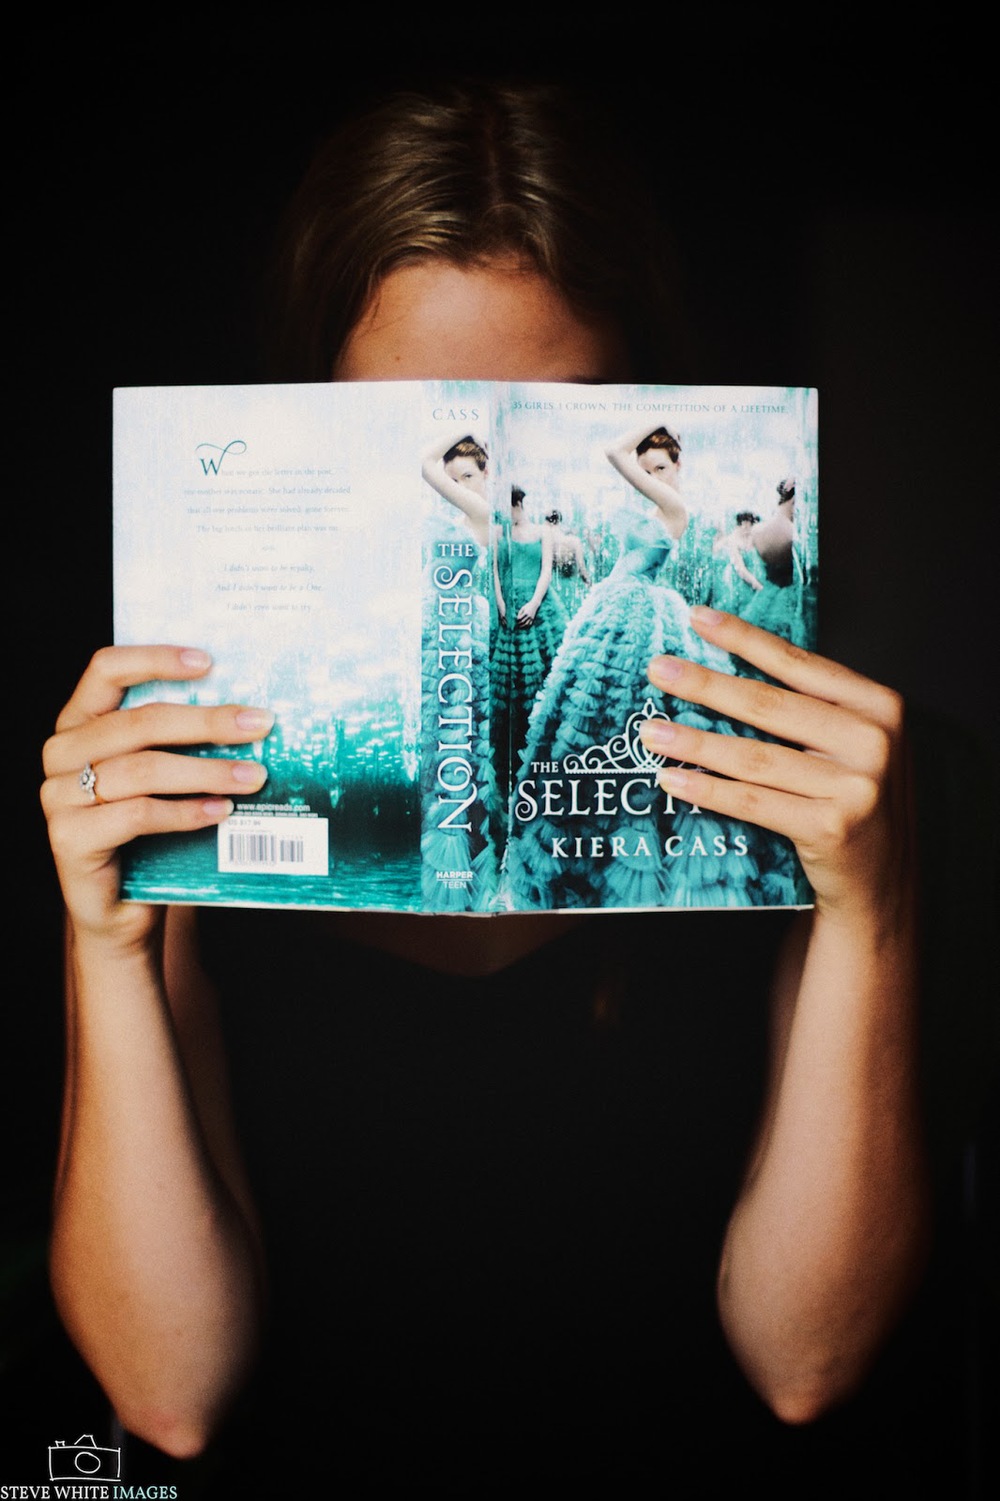
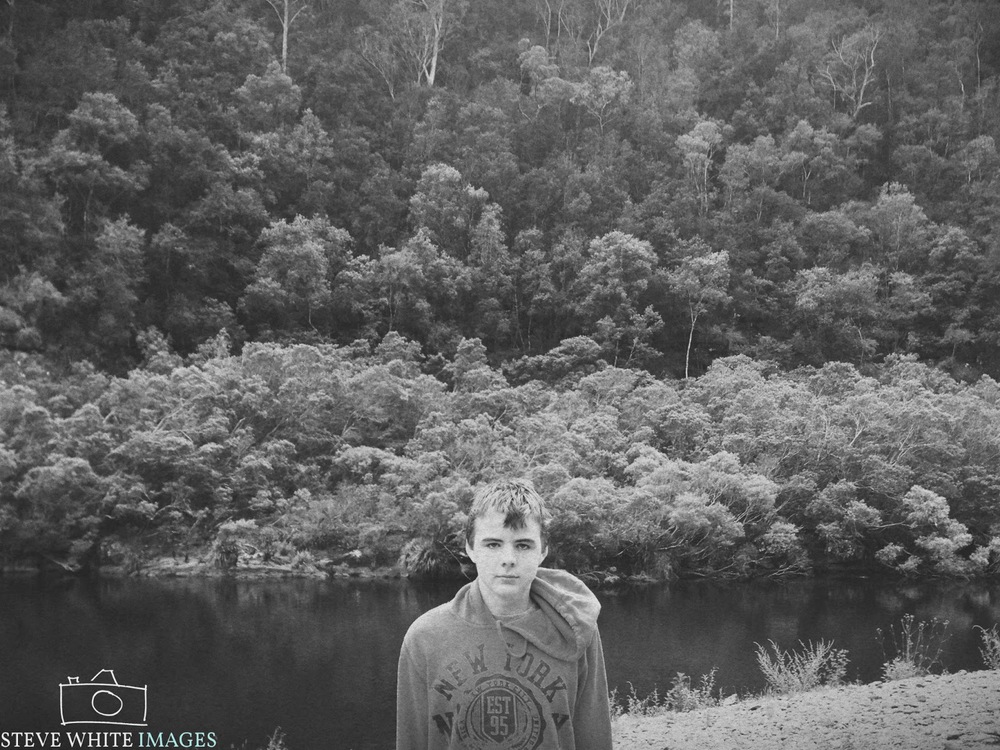
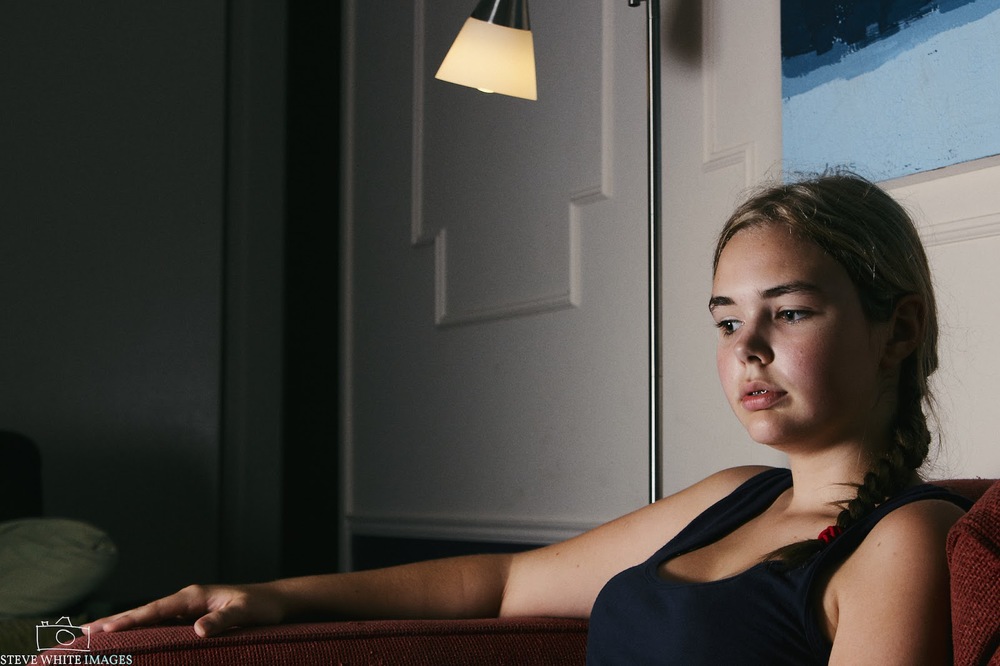
Megan came for a sleep over last night & Bek & I thought it'd be a good idea to get some cool shots of her. Grabbed some of them together and a few of Bek as well for a fun little session in the nearby bush.
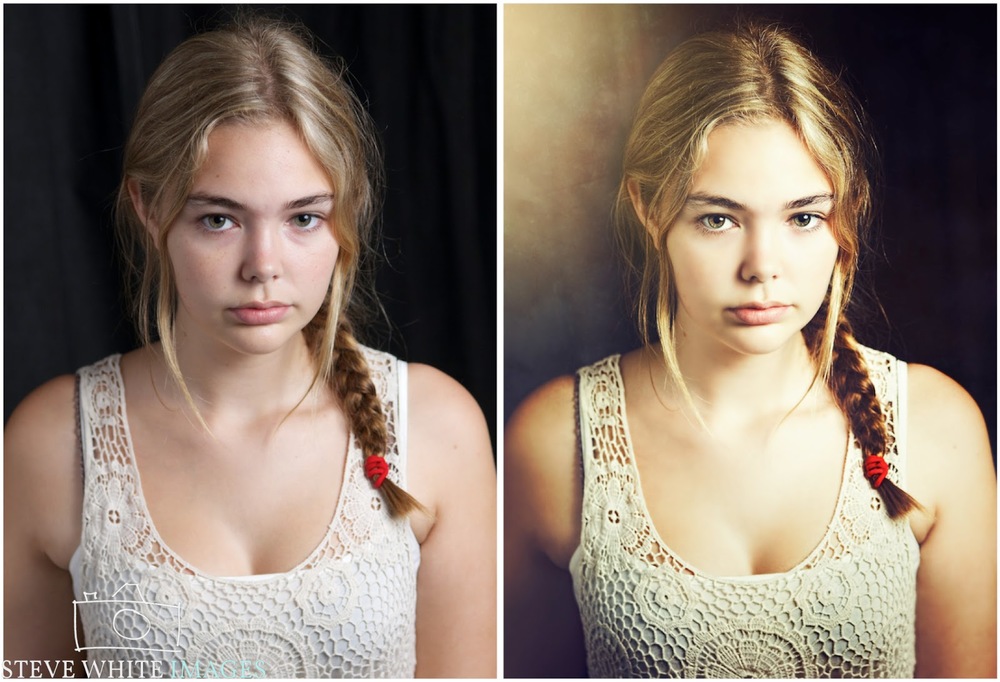
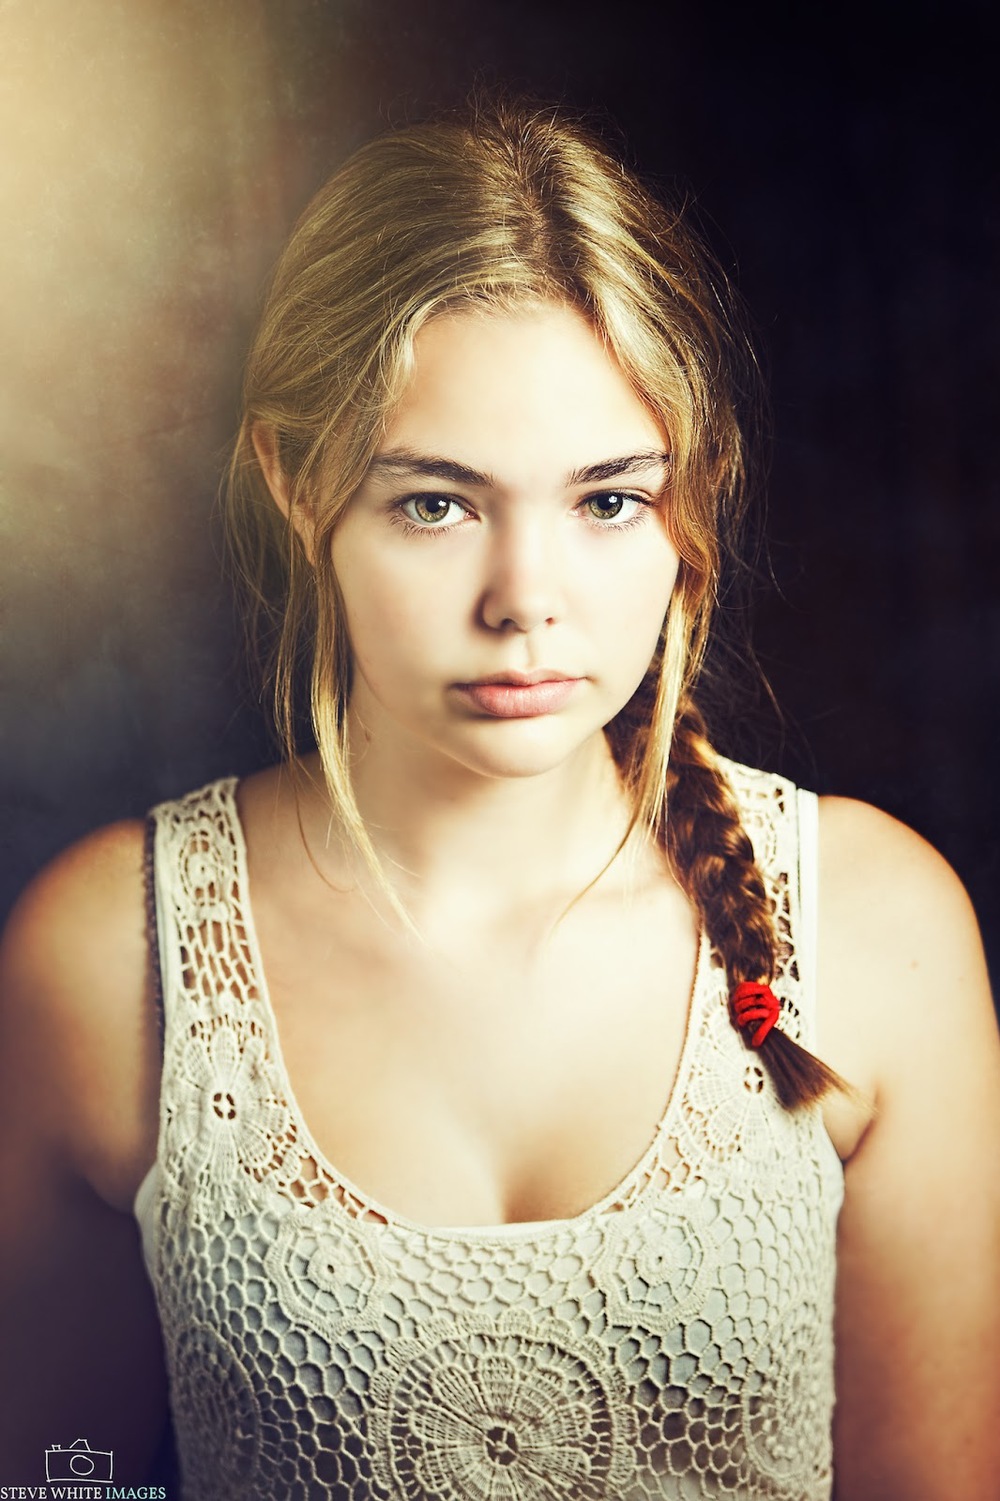
Thought I'd throw up a before and after shot and explain a little of my technique here. The before shot is fairly simple - single light set up with a reflector. But - it's nothing particularly amazing, I wanted to pep it up a little. Here are the steps I took with links to credit the software and action providers:
Apply vignette in Aperture to darken the background a little.
Curves adjustment layer in PS to further darken background while keeping the subject well lit
Blemish removal with healing brush and patch tool
Ran "Alison" action from www.fashionactions.com. One of my favorite actions at the moment - can do amazing things to spice up an image.
Ran Topaz Detail from www.topazlabs.com to bring out detail in the eyes & top, making sure to mask out any skin areas.
Ran Perfect Portrait 2 (free) from http://www.thecoffeeshopblog.com to smooth skin and further define eyes.
Placed depression glass texture from http://jessicadrossintextures.blogspot.com.au/, masking out a bit of the face and painting texture out of skin and eyes etc.
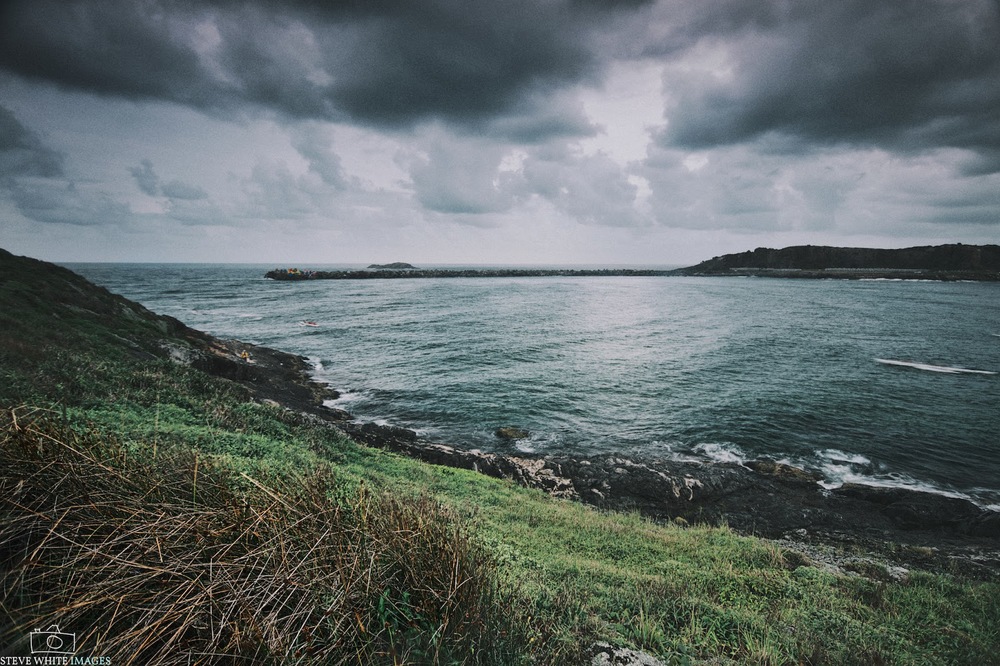
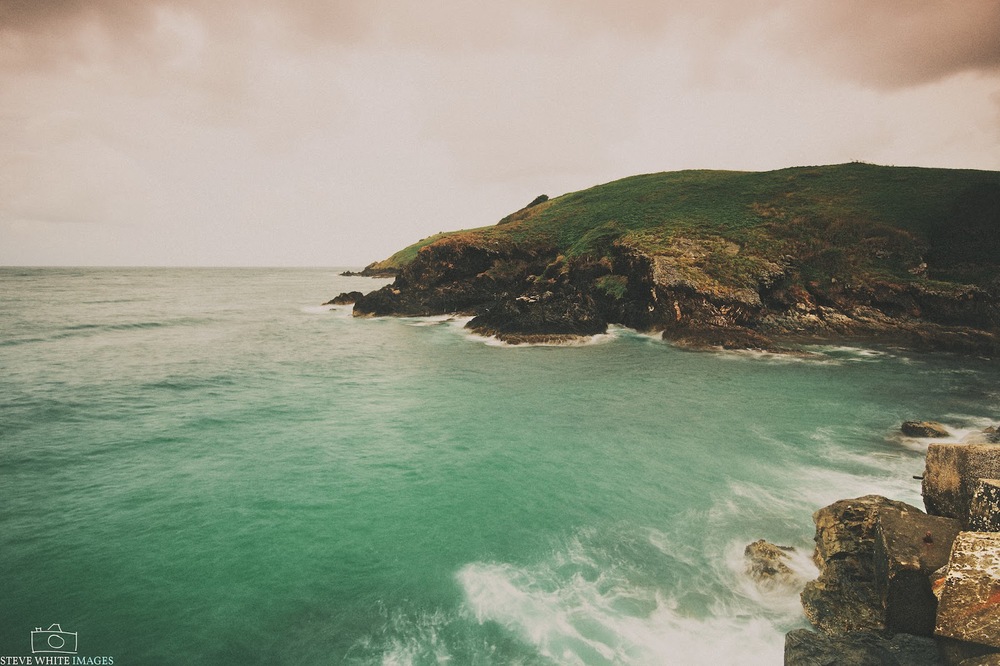
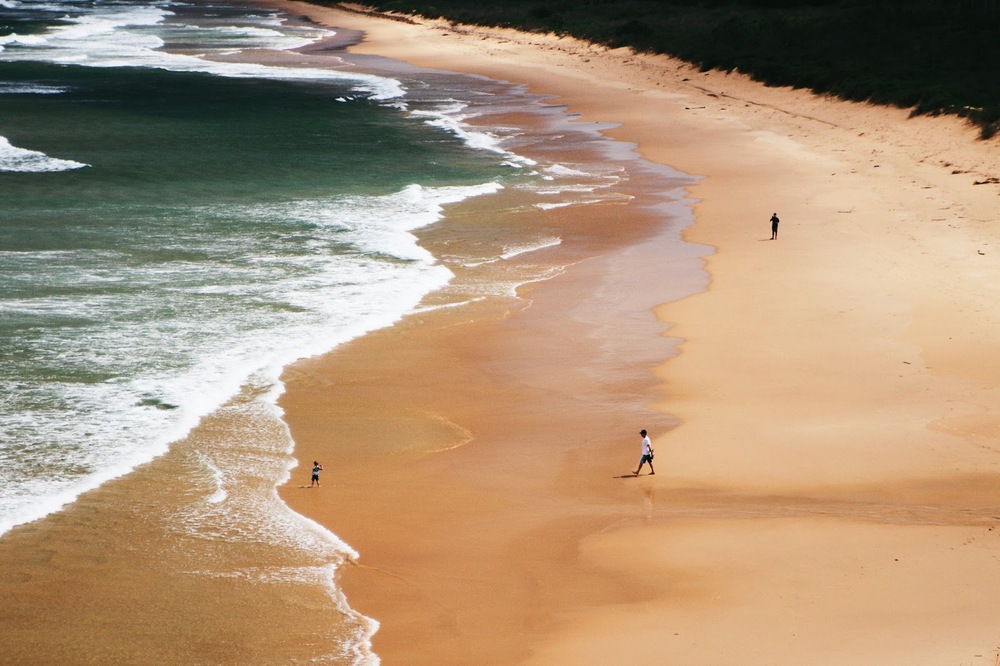
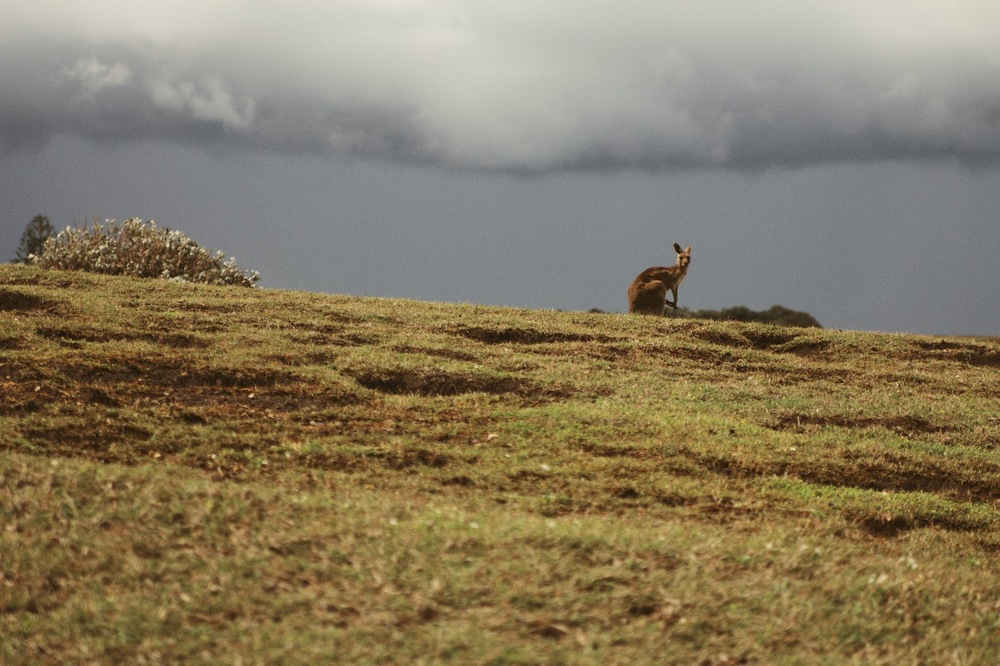
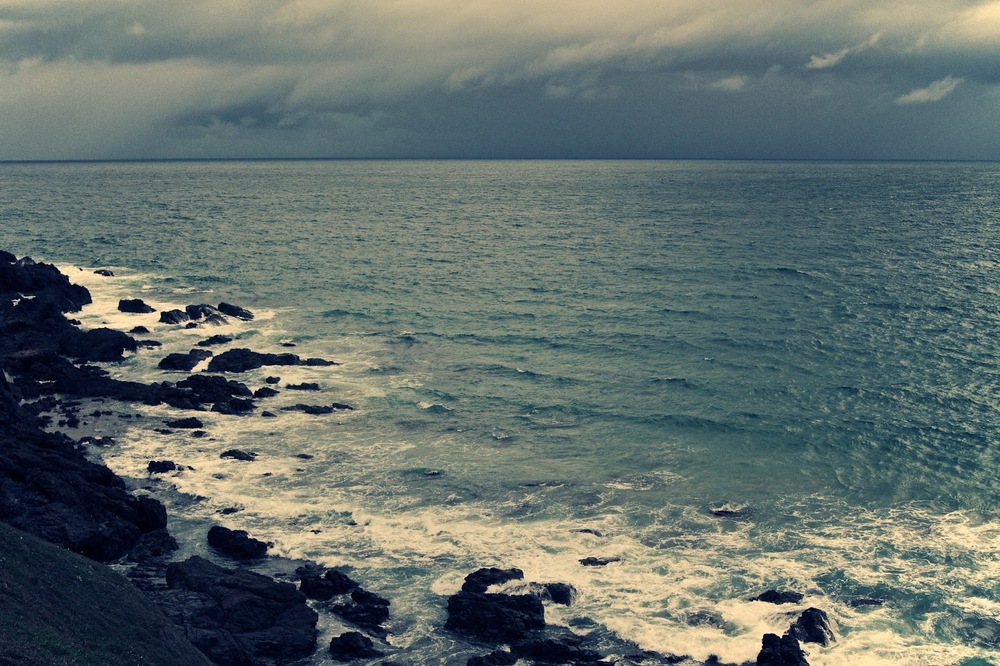
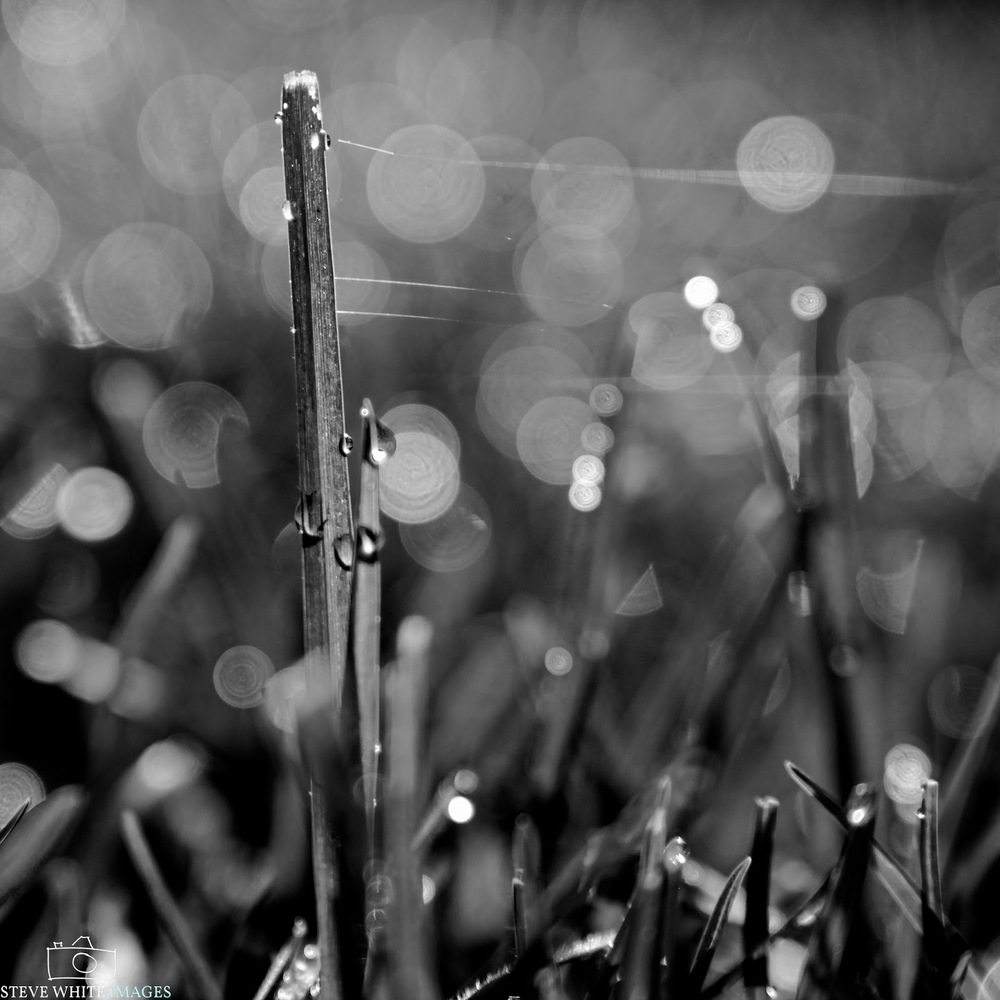
I'm loving vsco film at the moment, but the iphone app is very fun as well for grabbing grainy old film effects. Here's a few from the last month or so.